#1 HOA / Multi-Family Roofing Specialist in Myrtle Beach
At Lenox Roofing Solutions, we are the leading experts in HOA and multi-family roofing projects in Myrtle Beach. Our dedicated team understands the unique needs of HOAs and property managers, ensuring top-notch service tailored to large-scale projects. When you find yourself in need of top roofing contractors here in Myrtle Beach, there’s no better roofing contractor or company to call for help than Lenox Roofing Solutions.
OUR CORE VALUES:

OUR WHY:
To operate using old-fashioned values so that the customers we serve experience quality and the peace of mind of working with a reputable contractor.
Top Roofing Contractors
Myrtle Beach SC
Our company offers service to businesses and Home Owners’ Associations all over South Carolina, including Myrtle Beach and the surrounding areas. There is no South Carolina location too remote to call us for their Home Owners Association needs. Whether you live in Little River, Surfside Beach, Conway, or Charleston and the surrounding areas, or anywhere else in South Carolina, our crew can assist with whatever you require.
Professional HOA Roofing Services in Myrtle Beach, SC
Our roofing contractors in Myrtle Beach are here to help with all kinds of Multi-family or HOA projects. We are headquartered on Dick Pond Road in the Myrtle Beach, SC, area. We offer Home Owners Association services all over the state – from Conway, Little River, Myrtle Beach, or North Myrtle Beach.

Specialized for Multi-Family: We’re experts in multi-family roofing, equipped to handle large-scale demands across South Carolina.
Full-Service Offering: From maintenance to complete replacements, we cater specifically to multi-family properties.
Trusted State-Wide: Property managers across the state rely on our commitment to quality and efficiency.
Any business in South Carolina requiring HOA roofing services should call our roofing contractor team at 843-839-2445. Our representatives are eager to explain how we can help and we pride ourselves on our customer satisfaction rates.
Our expert roofing team can handle any HOA construction projects you throw at us, from repairs to maintenance to new roof installation to reroofs and more. There is no job too big for us to handle and we offer very competitive rates.
Receive Your Quote Now
Services Offered in
Myrtle Beach SC
Our experienced team can handle any roofing project, big or small, throughout South Carolina. Our business has satisfied scores of South Carolina customers. We will stop at nothing to get any roofing construction project done quickly and efficiently. Interested parties need only contact us by phone at 843-839-2445 or email us at office@lenoxroof.com to request a job.
If your home or Home Owners Association roof has sustained shingle damage or otherwise in a state of disrepair, we’ve got you covered. Roof repair is one of the services we provide. Whether the roof is made of metal or asphalt, our expert technicians are more than capable of providing the necessary roof repairs and getting the job done right.
When time has taken a toll on your roof, and you can’t restore it through traditional repair work, look no further than Lenox Roofing Solutions. Whether your roof is made of either sheet metal or asphalt, we’ll remove the old roof and the components, and replace it with a brand-new roof system. Just give us a call at 843-839-2445 or email us at office@lenoxroof.com for a free consultation with a roofing specialist.
Roof Rejuvenation / Ugly Roof
Under certain circumstances and situations, you may not have to replace your roof, you can rejuvenate it. We offer Ugly Roof services that can bring your roof back to life. The highest quality materials are used to Refresh, Repair, and Restore.
Refresh – by cleaning the roof, the ugly, black streaks of the roof are removed. Repair – repairs the roof. Restore – a solution that is environmentally friendly sprayed on the roof, in order to “restore” the oils that are within the shingles, which increases the flexibility of each shingle and its adhesiveness.
This service repairs your roof, preventing further hail damage afterward. It also potentially adds up to 5 years of shingle life.
If you want to make sure your roof lasts for the entirety of its lifespan, regular maintenance is essential. Hiring roofing technicians to perform consistent maintenance work will prevent the need for extensive (and expensive) repairs in the future. To inquire about setting up a regular maintenance schedule, dial our phone number at 843-839-2445 for a free consultation.
New Roof Installation
If you’re in the middle of a construction project and you require an honest, experienced, local roofing company to install a new roof, you know what phone number to dial. Contact us at 843-839-2445 to ask for a free estimate for high-quality roof installation services.
What Our Customers
Are Saying
Why Do You Need HOA Specialist Roofing Services in Myrtle Beach, SC?
As the owner of a house or manager of a Home Owners Association in or near Myrtle Beach, there are plenty of reasons for you to hire local roofing companies serving Myrtle Beach to keep your home in peak condition. No matter what sort of roofing job you need to be done, you can always count on Lenox Roofing Solutions to provide reliable work with quality results.
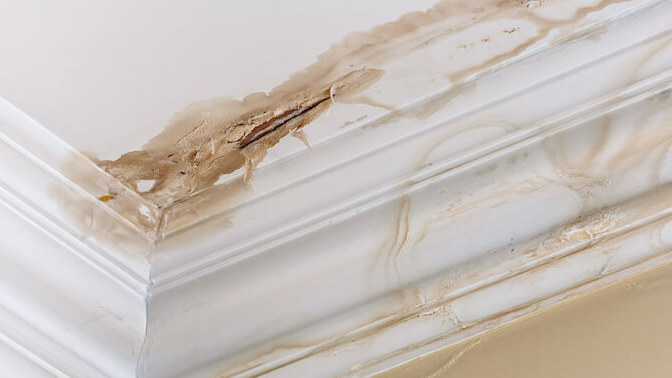
Leaks
Roof leaks are a serious problem that can lead to extensive damage throughout your home. If you notice water coming through your roof, you must hire an experienced technician to begin immediate repairs. Feel free to contact us by phone at 843-839-2445 for a hands-on service.
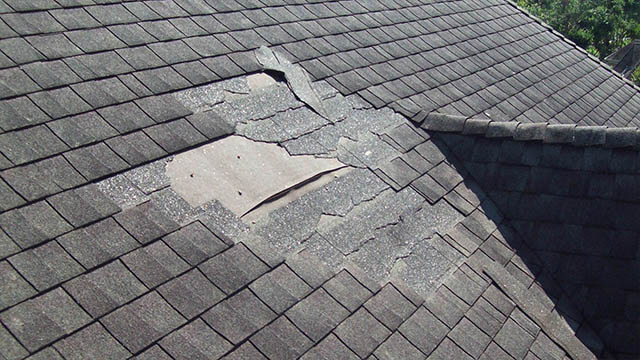
Damaged Shingles
It is in every homeowner’s or property manager’s best interest to make sure that their roof is in peak condition at all times. So when you notice minor or major damages like broken or cracked shingles, you know who to call to set it right. Just contact us by phone at 843-839-2445 or email us at office@lenoxroof.com for a free consultation and ask about setting up a roofing repair project.
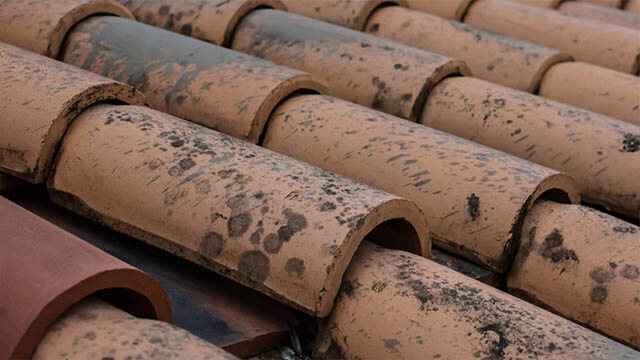
Your Roof is More Than 15 Years Old
All roofing materials have their expiration dates, no matter how well-maintained they are. If you haven’t had a replacement in over 15 years, it’s time to schedule your next roofing project with Lenox Roofing Solutions. We’ll provide you with the quality work you need, and we’ll also give you an honest estimate upfront, so you’ll never be surprised by hidden fees.
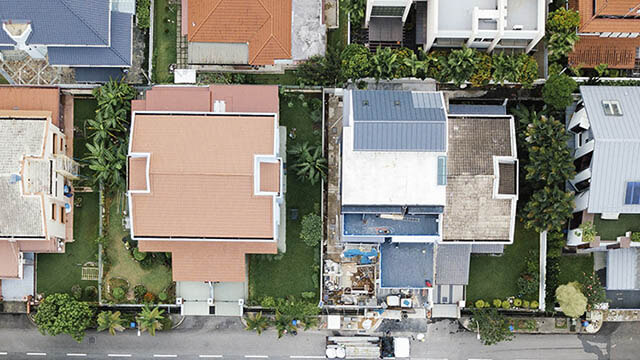
Change Up Your Roof Style
Sometimes, we all need a change of pace for – even for aesthetic reasons. If you’re looking to upgrade your roof to give it a new look or an exciting stylistic makeover, Lenox Roofing Solutions is on the job. Whatever your reasons, we’re always happy to provide our clients with high-quality roofing services.
Why Do You Need Home Owners Association Roofing Services in Myrtle Beach, SC?
As the manager of a commercial building, an HOA or Board Member, you always want to ensure your property is fully functional and a positive representation of your brand. That is why having consistent access to high-quality roofing work should be a top priority.
How Can You Decide Which Roofing Companies Myrtle Beach SC to Trust with Your Home or HOA?
Sometimes it can be difficult to tell which roofing companies are honest and trustworthy. Here are a few things to keep in mind.

SERVICE AREA
Click on the area you need and
you will be redirected to the page for that area
Why Is Lenox Roofing Solutions the Number One Roofing Company in Myrtle Beach, SC?
What to Expect When Hiring Our Expert Roofing Contractors
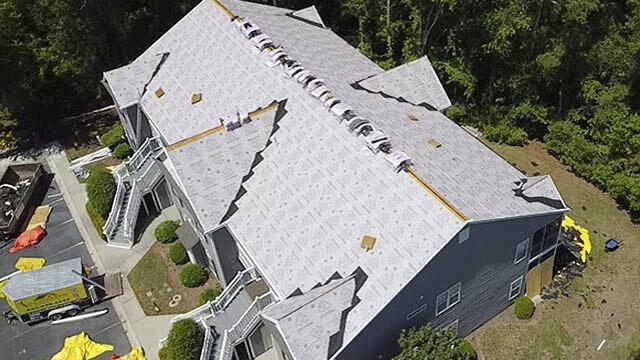
Professional Service
You can always expect nothing less than the very best from our dedicated Myrtle Beach roofers and contractors.
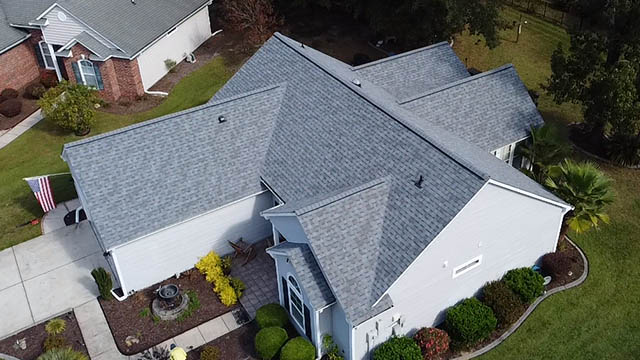
Excellent Results
Serving Myrtle Beach and its surrounds, the quality of the work we do speaks for itself. We do an excellent job and the intensive training we give our expert contractors allows them to produce the best roofing work you’ll see.
Clear Estimates for Affordable Services
Every estimate we give is as accurate as possible, so you’ll never be surprised by hidden fees or unexpected costs.
Call Us for Your Roofing
Myrtle Beach SC
Whether you need a roof replacement, shingle repair work, or assistance with any other roofing job resulting from storm damage, Lenox Roofing Solutions is your team of local roofers dedicated to large-scale commercial or residential roofing projects. We’ll assist you with any roofing project you need, no matter if the property is residential or part of a Home Owners Association.
We’re the #1 roofing company trusted by property managers across Myrtle Beach area. Whether you need Multi-family or HOA roofing, we’ve got you covered. Are you an HOA board member? Contact us for a specialized consultation!
Call us today at 843-839-2445 or email us at office@lenoxroof.com to schedule a free inspection!

