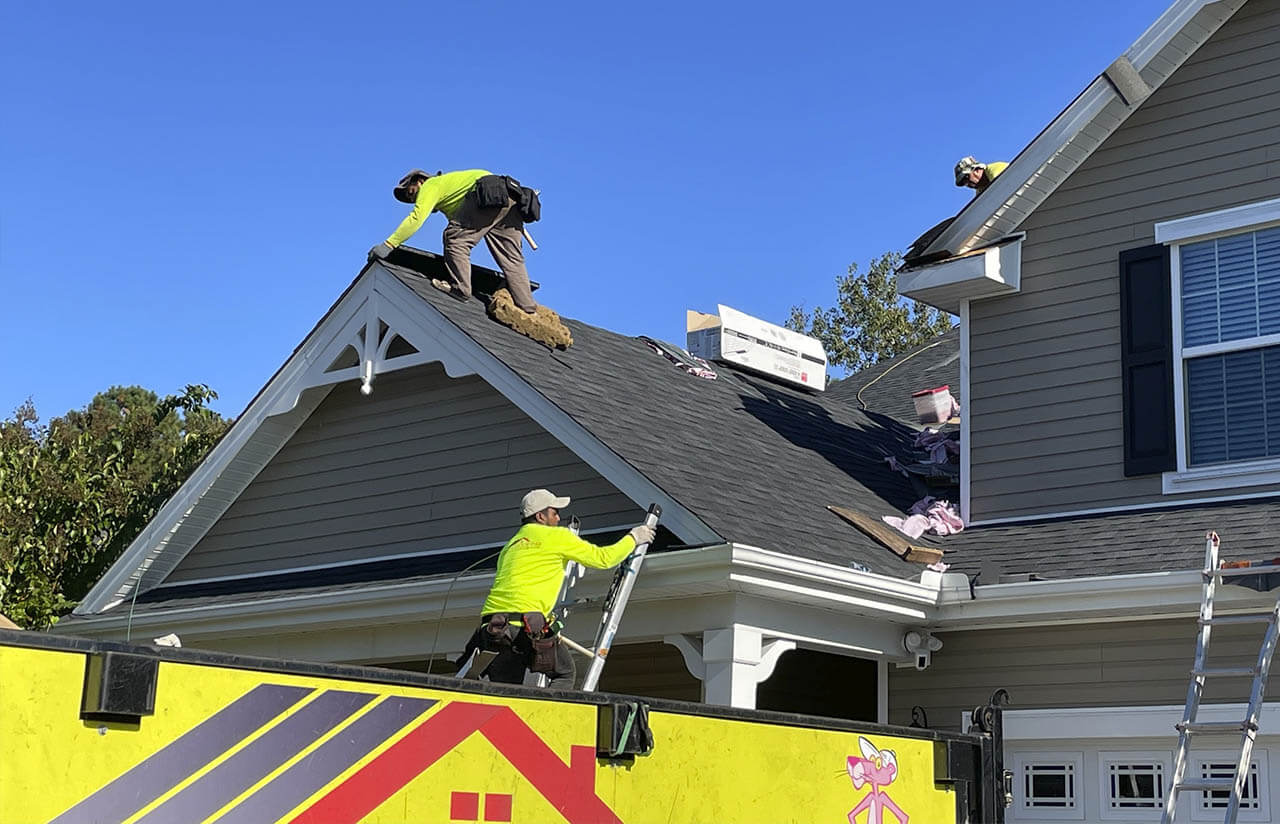
Asphalt shingles are vulnerable to damage, especially here in Myrtle Beach, SC, where extreme weather conditions occur. Therefore a homeowner must know how to do simple roof repairs.
If there is a hole in your shingle roof, don’t wait until it becomes a major problem. Take your roofing cement, pry bar, and liquid nails, and fix them immediately.
Leaving a hole in your roof can lead to bigger problems.
This guide will show you how to patch the hole and avoid such issues. You can give your roof more life by fixing these simple holes.
Can You Fix a Hole in Your Shingle Roof?
Yes. You don’t need a lot of carpentry experience to deal with a small hole in your roof. As long as you have the will to learn, such issues should never be a cause for alarm.
In most cases, homeowners spend money hiring others for the job when they can do it with basic carpentry skills. It is not like you are installing an entirely new roof – just a small hole.
However, you need to be extra careful, or you will have damaged decking and too many leftover shingles. Proper precautions must be taken during the entire process.
If you successfully patch a hole in the roof, you can give your roof more time before a full roof replacement is needed. You can do this with a ladder.
A Word of Advice
Even though patching a hole in the roof may seem easy, it comes with several risks to yourself and the house. You may need some patience and experience if you don’t want to hire a roofing contractor.
Many homeowners tend to make small mistakes that may allow water to flow into the attic, causing rot and mold. This forces them to spend a lot more on repairs with professional roofing contractors.
If you are unsure of climbing the ladder and doing the job, hire a qualified roofer from the word go.
How To Repair A Small Hole In A Shingle Roof
With that in mind, you should be ready to patch that hole now. So, if you’re confident enough, follow this guide.
Tools and Materials
The first step is to gather all the materials. They include:
- Safety attire like rubber-soled shoes and gloves.
- Ladder
- Shingles
- Hammer
- Circular saw
- Liquid nails
- Roofing nails
- Roofing tar
- Putty knife
- Reciprocating saw
Locate the Problem
The next step is to climb on your existing roof and locate the problem. You can get some clues from roof leaks, damaged wood on the roof, clear holes in the existing plywood, and many other signs.
You need to be sure the roof patch will cover the entire affected area when you lay tar paper and other materials on it. This is why setting yourself up properly is extremely crucial.
Set Your Gear in Place
Again, the task of replacing damaged shingles is not a joke. You need to properly set up your gear and tools before starting.
Put the ladder in a stable place, so it won’t kick out. Also, keep your new shingles in a safe place and handle them with care to avoid breakages.
If you are afraid of heights, consider having a professional roofer around to help you. Haul every tool and material you need to the roof carefully, and then start working slowly.
Remove the Old Shingles
Use a pry bar to remove all old shingles around the hole, taking care not to damage the existing good plywood. Keep removing the shingles if you see any water damage. Start with the top shingles and work your way down.
If there is no water damage, use the claw hammer to remove the remaining nails and then replace the shingles. But if you see water damage, a new plywood is necessary, which takes us to the next step.
Replace the Wood, if Damaged
It is important to cut out the entire areas of the damaged plywood before you patch a hole in your roof.
Use the circular saw for this task, taking care not to damage the roof rafters.
Note that any careless mistake may affect any future insurance claims on your roof. Consider using a utility knife to lift off any area that may hinder your cut.
Ensure at least your cutting length is slightly more than the damaged area. This gives you enough space to work around.
Create Framing
Use 2×4 boards to create framing for the new plywood. In case the hole is too small, affix the 2×4 nails under the existing good plywood. Be sure to keep the same thickness of the area where the new shingles will be fixed.
A bigger hole will require the same dimensions for the framing as the plywood. The braces must extend at least the length of the hole on each side Affix the 2x4s to the rafters using the 3” nails. The wood brace must be approximately three times as long as the hole.
Patch the Hole
Measure the exact dimensions of the hole and cut a matching piece of plywood. Ensure the plywood meets the highest standards to protect your home from damage.
Use liquid nails on plywood and fix it in the exposed holes. Lastly, nail your new patch to the framing.
Use Tar Paper to hold the shingles
Spread the roofing cement on the seams where the damaged area is, connecting to the existing plywood. Then place the tar paper on top of the patch.
Continue removing shingles from around the hole if the tar does not extend beneath the shingles by at least inches. Nail the paper and then move to the next step.
Replace the Shingle
Shingles are designed to overlap. Therefore, you must replace the shingles from the bottom to the top edge. The entire section must be properly covered, and the shingles firmly attached to the plywood. Cover the nails with roofing cement to ensure the patch does not leak.
Confirm
Patching a hole on a shingle roof is not as easy as it sounds. You need to avoid cutting through the good wood and ensure the entire area is properly covered. If you are not careful, you might end up with two holes instead of one.
It is crucial to confirm that the repair is a success. Double-check the area and check that there are no cracked shingles or anything that could cause more issues.
Call and Expert
Working on a shingle roof is not easy. You may need to remove that old satellite dish or fallen tree branch on the roof to fix it.
Instead of working alone on the roof and risking more damage, we recommend hiring a reputable roofer. And Lenox Roofing is ready to help. The company has developed a great reputation for serving South Carolina with high-quality roofs. You can be sure of reliable workmanship on your roof as the team fixes the issue in the shortest time possible.


